
Charcoal gives you something gas can't: a choice. Heap all your coals in one pile and you get fierce, direct heat — perfect for a banger that needs blistering, hopeless for a shoulder of pork that needs an hour of gentle cooking. Push those same coals to one side, though, and the grill becomes two cookers in one. One half for searing and fast work, the other for slower, gentler cooking with the lid down. It takes two minutes to arrange and it is the most useful habit you can build in a British backyard.
Why two zones beat one big pile
A kettle or barrel barbecue is just a metal box with a fire in it. Where that fire sits decides what your food experiences: radiant heat directly underneath, hot air circulating around, or a mix of both. Put everything over the coals and you have one setting — hot — and no way to slow down except by fiddling with vents and hoping.
Split the fire and you gain two things. First, control: if a sausage starts spitting flames, you slide it to the cool side and the problem is solved in three seconds. Second, range: you can cook a whole spatchcocked chicken through on the cool side, then give it a quick turn over the coals at the end for colour. That is the real advantage. You are not cooking at one temperature; you are cooking at whichever temperature the food needs at that moment.
Move the food, not the fire. It is quicker, safer and far less stressful.
Setting up a two-zone grill
This works on a kettle, a barrel grill, or any barbecue with a lid. Adjust the amounts to suit the size.
- Clear the ash. Empty the bottom of the grill and make sure the lower vents are free. Blocked vents mean you cannot raise or drop the heat later, and old ash turns to a fine dust that coats everything.
- Light a chimney starter. Fill it with lumpwood or briquettes, set it on the charcoal grate over a couple of firelighters, and leave it for fifteen to twenty minutes. You want grey, ashy edges and a faint orange glow when you tip it out. Lighter fluid leaves a taste you cannot scrub off.
- Bank the coals on one half. Tip them onto one side of the grill and spread them into an even layer about two briquettes deep. That is your direct zone. The empty half is your indirect zone.
- Add a drip tray. On the cool side, sit a foil tray or a double layer of foil. It catches fat, keeps the base clean and makes washing up a five-minute job rather than a twenty-minute one.
- Fit the grate and oil it. Let it heat for a few minutes, scrub it with a wire brush, then wipe it with a folded kitchen roll dipped in oil. Nothing sticks to a hot, oiled grate.
- Put the lid on and wait. Five to ten minutes with the vents open lets the grate and the air inside settle at a stable temperature. Cooking on a grill that is still climbing is how things burn on one side and stay raw on the other.
Controlling the heat once the lid is on
Vents do the work
The bottom vent feeds the fire; the top vent lets the hot air out. More air, more heat. If you want a steady indirect cook, open the bottom vent about halfway and set the top vent roughly a third open, then leave it alone for ten minutes before judging. Chasing the temperature every two minutes makes things worse, not better.
Put the lid vent over the food
A simple trick that makes a real difference: rotate the lid so the top vent sits above the cool side, over the food. That pulls the hot air and smoke from the coals across whatever you are cooking before it escapes. Get it the wrong way round and the smoke disappears out of the near side without ever touching your chicken.
Know your grate temperature
A cheap oven thermometer stood on the grate tells you far more than guesswork. Broadly, you are looking for something in the region of 110–140°C for slow indirect cooking, 150–180°C for roasting joints and whole birds, and full heat directly over the coals for searing. Use a probe thermometer for meat. Poultry should be cooked through, with the usual benchmark of 74°C in the thickest part of the thigh.
Top up before you need to
For cooks longer than an hour, keep a second chimney of coals lit and ready. Add a few at a time to the existing bank rather than dumping in a fresh pile — steady additions keep the temperature even. On long cooks, a few unlit briquettes tucked against the hot ones will catch gradually and keep the fire alive.
What to cook where
Once the two zones are set, the decision becomes simple. If it cooks in under ten minutes, it belongs over the coals. If it needs longer, or it has a lot of fat, or it is delicate, it belongs on the cool side.
- Direct: sausages, burgers, thin steaks, chicken wings, halloumi, corn on the cob, vegetable and mushroom skewers, flatbreads, halves of pepper and red onion.
- Indirect: whole chickens, chicken thighs and drumsticks, pork shoulder, lamb leg, rib of beef, whole fish, thick steaks you intend to finish over the coals, and anything smoked with wood chunks.
- Also indirect, and often forgotten: toasting buns, melting cheese over a burger, warming sauce in a small pan, resting a joint, and holding cooked food warm while the rest finishes.
Sausages are the classic example. Start them on the cool side with the lid on for fifteen minutes or so, turning occasionally, then move them over the coals for the last few minutes to blister the skins. No flare-ups, no raw middles, no standing over the grill with a water spray.
Two-zone techniques worth learning
The two-stage cook
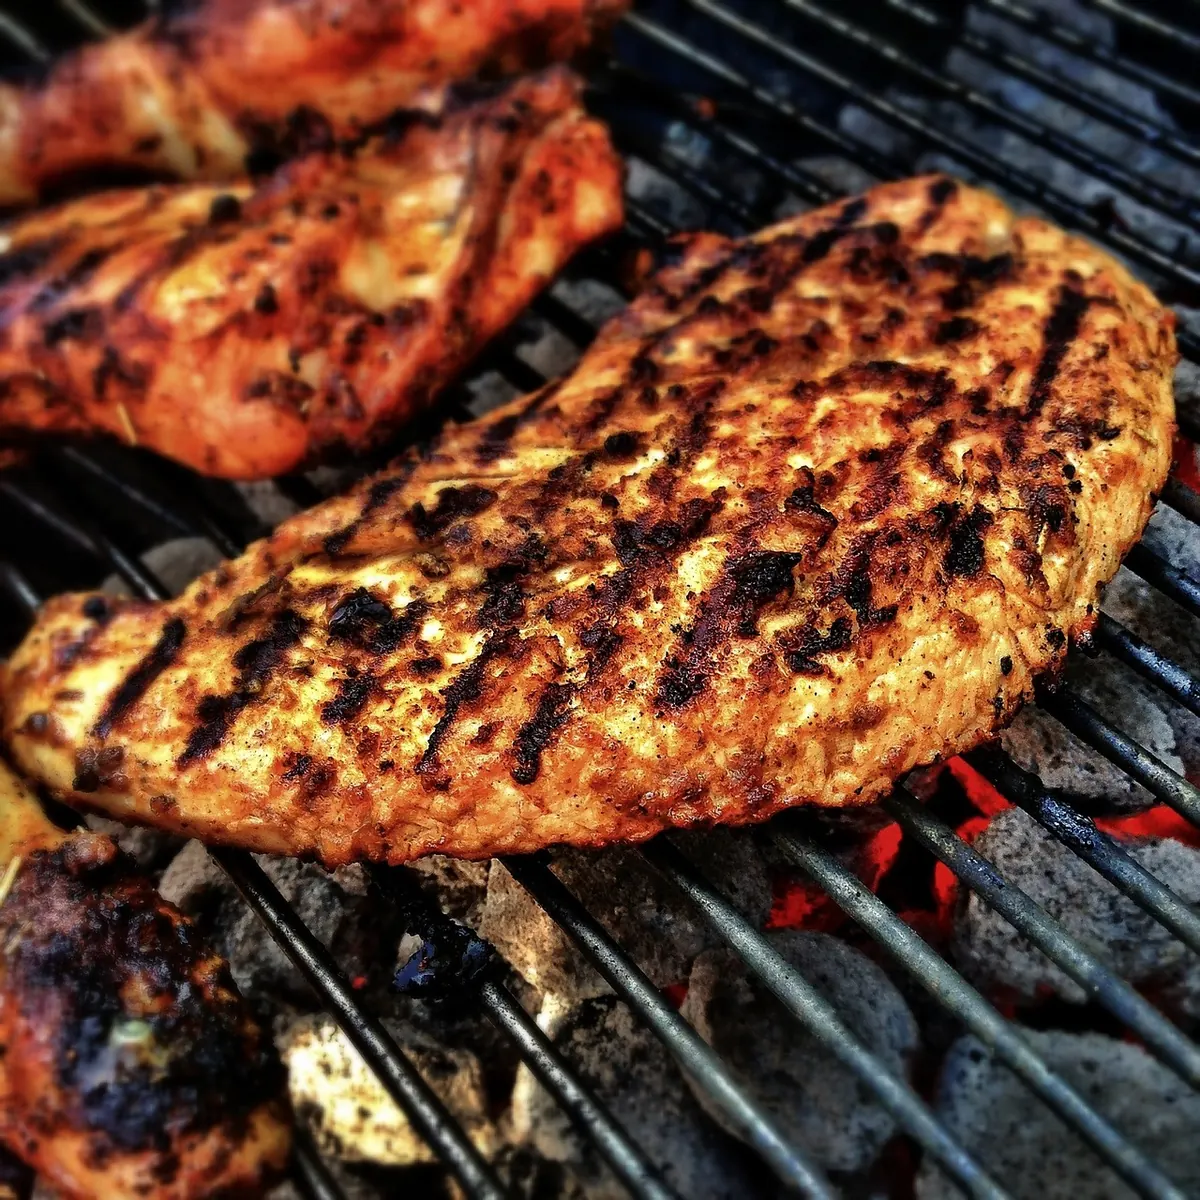
Anything thick benefits from starting indirect and finishing direct. A thick pork chop, a chicken breast, a piece of salmon: gentle heat first so the inside cooks evenly, then a minute or two over the coals for a crust. The reverse — searing first, then moving to the cool side to finish — works just as well. Either order gives you a properly cooked centre and a browned outside, which is very hard to achieve over a single pile of coals.
Stack the coals for a hotter sear
If you want a proper steak crust, bank the coals two or three deep on the direct side and leave the grate to heat hard for ten minutes. A deep, concentrated fire gives you a small area of intense heat, which is exactly what you want for a quick sear — and the cool side is still there for the rest of the meal.
Keep the lid shut
Every time you lift the lid you lose heat and add time. Lift it to turn, to check, or to move food between zones, then put it back. On the indirect side especially, the lid is what turns a barbecue into an oven.
Before the first burger goes on
Have your tools within reach: long tongs, a probe thermometer, a tray for resting meat, and a second chimney of coals ready to light if the cook runs long. Keep the grate clean between batches and give it a quick brush. Don't overcrowd the direct zone — food packed tightly together steams rather than browns, and you lose the space you need to move things out of trouble.
Sort out the two zones before anything hits the grill, and the rest of the cook looks after itself. Bank the coals, set the drip tray, put the lid vent over the food, and cook with a choice rather than a single blast of heat. It is the difference between fighting the barbecue and simply using it.
Photo: LoboStudioHamburg / Pixabay